
Call of Duty 4: Modern Warfare‘s multiplayer mode is filled with competition, and for those who wish to take complete control over the game for a smooth gaming experience, a dedicated server is the ultimate solution. Dedicated servers transform your game into a customizable playground with unique game modes, settings you like, and new experiences with mods. This gives you entire control and ownership over the online environment.
There are two ways of setting up a dedicated server in COD 4. The first involves self-hosting, where you install server software and game files on your own dedicated server hardware. The other includes a server hosting service, where you can rent server space from a gaming server hosting company.
The first thing you need to do is purchase a server plan from Hostinger, Cod4x. Let’s break down both methods individually,
Hostinger Dedicated Server Hosting For COD4
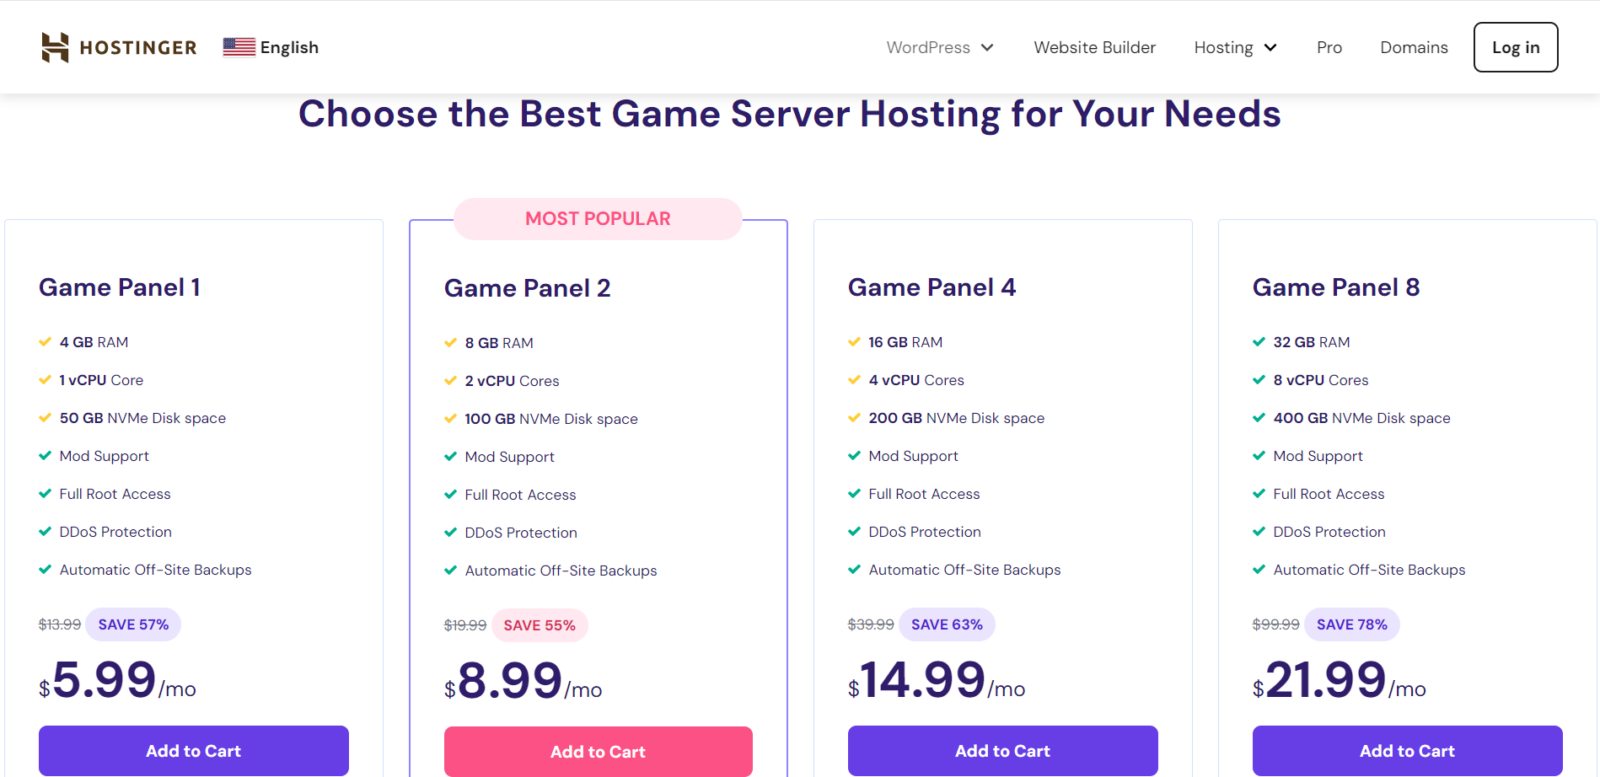


After selecting a server plan, you first must choose a server location and set up a control panel password. Once your server is installed successfully, open the Panel access and click on the Login URL https://185.185.185.185.8443 and log in with the exact username and password mentioned in the Panel access window.
Once your Hostinger server is logged in, you must create a new game instance. In the Application, choose Call of Duty 4: Modern Warfare, choose Do Nothing in the After Creation section, and click on Create Instance.
Next, simply launch the game and enjoy better control over the game in a lag-free environment.
Cod4x Server Hosting
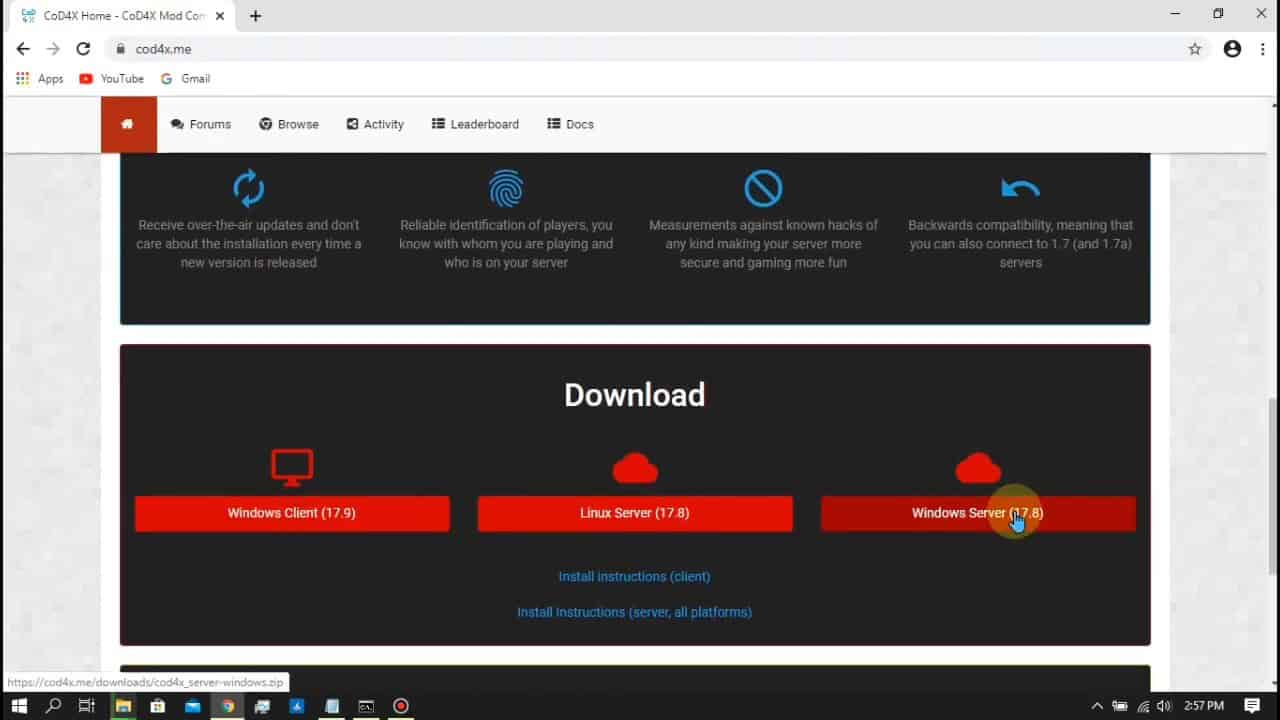
For this method, you must turn off your firewall and install the server file from Cod4x. Before installing the server file, copy the main, miles, zone, pb, and config folders from the main game directory, paste them into another folder, and name it Server. Now, head to Cod4x and download the server file.
Extract the server file in the server directory. The next step involves installing the mods file. Make a mod folder in the same directory and download the file from pml220 premod. Now, configure the server.cfg file according to your requirements and move it to main directory [My DIR: Test Server/main/server.cgf].
Once the server.cfg file is configured, save it, and send the server file (cod4x18_dedrun.exe) to the desktop. Right click on properties, and in the target box, paste the given parameters:
+set dedicated 2 +set net_ip (your_ip) +set net_port (your_port) +set fs_game mods/(your_mod) +set rcon_password (your_pass) +exec server.cfg +map_rotate
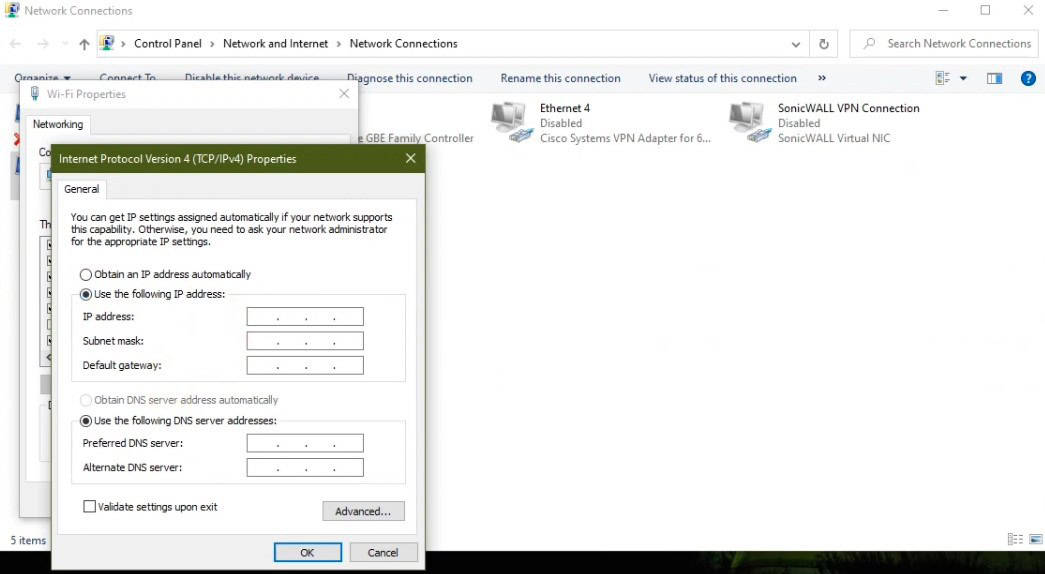
Set your password here and open the Network and Internet settings > change adapter options > Ethernet/WiFi device > Right click on the properties > Internet Protocol Version 4 (IPv4). Click on properties, and under the General tab, choose Use the following IP address and add in details of your WIFi. This creates a static IP address for your server.
Next, you need to set Port Mapping Settings from your WiFi setup and set up inbound and outbound rules on the Windows firewall. It requires two inbound and outbound rules for both TCP and UDP and allow the connection of these rules. At the end, you need to launch the server and run the game.